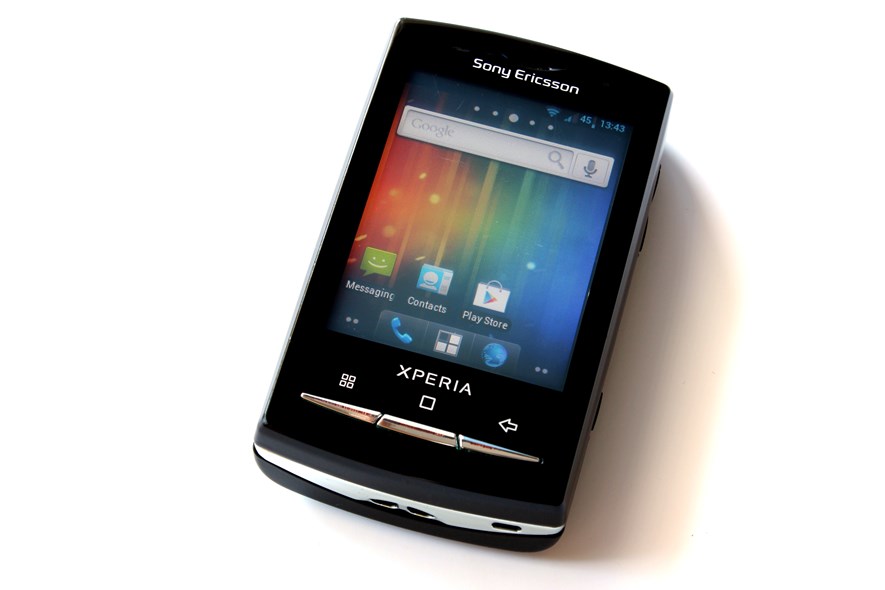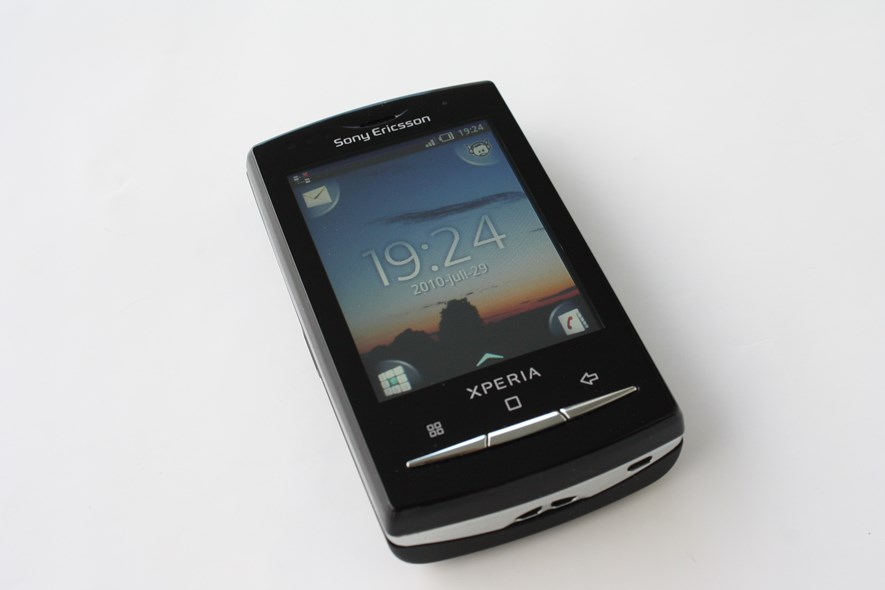
Installing Android 2.3 Gingerbread on SonyEricsson Xperia X10 Mini Pro
If it ain't broke, tweak it
I have had the SonyEricsson Xperia X10 Mini Pro for about two years, and its age is really starting to show. One weakness is the fact that it's still stuck with Android 2.1 (Eclair) with no update in sight. But before ponying up for a new phone, I wanted to see if there was any way to remedy this. And luckily, there is! This may be old news to some, but the nice people over at CyanogenMod have found ways to install custom Android firmwares, often including newer versions than your manufacturer offers. Read on for a short how-to on how to root and flash your phone with such a firmware.
About CyanogenMod
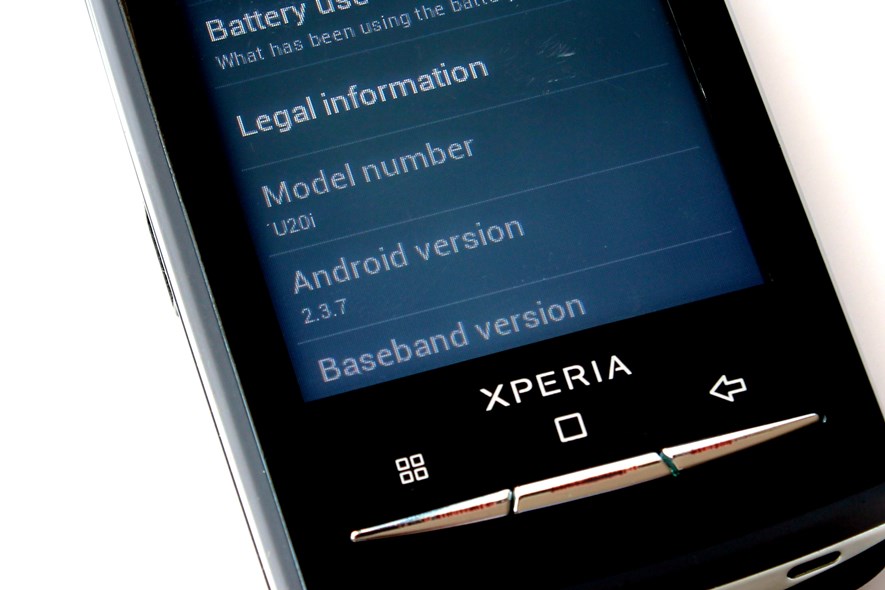
Android cannot just be installed on any device, it needs to be customized for your phone first. Typically, this is done by the manufacturer itself. However, many manufacturers are slow or unwilling to release updates to their phones since it costs resources and they would obviously prefer that the customer buys a new phone instead of updating their existing one. So what to do when your phone is capable, but the manufacturer not? Answer: CyanogenMod. It is a customized version of Android - thank god for open source - with some nice extra features added by the community, like USB tethering and CPU overclocking. A large number of devices are supported, fortunately including an Android 2.3.7 version for the Xperia X10 Mini Pro. Much further customization is also done over at XDA Developers.
Some useful links:
- XDA Developers X10 Mini Pro Development forum (very active with lots of great tutorials and a good place to start)
- CyanogenMod X10 Mini Pro forum page
- CyanogenMod X10 Mini pro wiki page (has a link to the firmware download)
CyanogenMod typically delivers pretty much a pure Android experience, which you may or may not like. The user interface of the X10 Mini Pro was customized to work well on a small screen. For example, you have application shortcuts in each corner of the screen, and each widget uses up a whole page. This will change after the update, unless you find a firmware (or possibly market app) with these special customizations.

A word of warning
Performing these steps will wipe all your data, void your warranty and may brick your phone, so don't do it. But you knew that already. ;)
The steps below probably only work with the SonyEricsson Xperia X10 Mini Pro, although the process for other phones may be similar. Also, this is the way I did it. There may be better or safer ways. I recommend checking the links above to get a better understanding of the procedure before continuing.
Some things (other than only the user interface) may not work after the update. My phone has a physical QWERTZ-keyboard and after the upgrade, I noticed it behaved like a QWERTY-layout. There are fixes though, check the XDA Developers forum thread.
How to: Steps overview
- Make a backup. Optional, but a good idea.
- Root the device. This will allow applications to do a few interesting things, like changing system files.
- Install BusyBox. Needed for the next step.
- Install xRecovery. This program will perform the actual upgrade.
- Downloading the update. There are several compatible firmwares, available directly from CyanogenMod or XDA Developers.
- Performing the update. That is, flashing the firmware.
1. Making a backup
Ok, I skipped this step (possibly hoping I would brick the phone and be forced to get a new one). The phone will be wiped completely so a backup of everything which is not on the SD card is in order. CyanogenMod recommends making a NANDroid backup of the current ROM. Also make sure all your contacts, calendar, apps etc. are backed up.
2. Rooting the device
In order to be able to change the system partition on the phone, we need root access (think administrator permissions). I used SuperOneClick as described in this how-to: addictivetips.com. Worked like a charm. Just remember to enable USB debugging on the phone first.
3. Installing BusyBox
Needed for xRecovery to work. Get it here.
4. Installing xRecovery
Once installed, xRecovery can be started during boot. We will use it to wipe data from the phone (including cache) and performing the update. The program does the same as the ClockworkMod but according to some sources it cannot be installed on this device (haven't tried it myself though).
A good guide on how to install xRecovery is available from addictivetips.com.
5. Downloading the update
You need to use a firmware compatible with the device. The one from CyanogenMod should be a good start. I ended up using this one, which has a Android 4-like look (still 2.3.7 though) and it has worked really well for me so far.
Download the Zip-file, rename to "update.zip" and copy to the root folder of the phone's SD card.
6. Performing the update
Switch off the phone and switch it on again. While booting, press the back button repeatedly when the white "SonyEricsson" text is showing. xRecovery starts. Perform the following steps:
- Factory reset (full wipe)
- Wipe cache partition
- Install update.zip from sd card (should this fail, try another firmware)
- Factory reset (full wipe) (should make sure the system runs more stable)
- Wipe cache partition
All done! Reboot the phone and enjoy.
If you would like to try another firmware, you now only have to perform steps 5 and 6 again (downloading and performing the update).
The result
Have to play around with it some more first. But in general, the user interface feels about as snappy as before, with some things (like opening a contact) being much faster. In general, the user interface has a nice feel to it and I'm quite happy. :)


102 Comments
Subscribe to new comments by RSS